![]()
Beautiful Plants For Your Interior
Introduction: At [beibeicustompet Studio]
we don’t just make custom needle felted pet sculptures; we try to catch a little piece of their soul in wool. Worried your pet portrait might end up looking stiff or generic? That usually happens when the process gets too technical and forgets the heart. Here’s how we bridge that gap, sharing our hands-on, sometimes messy, journey to create handmade felt ornaments that truly feel like them.
Every pet that walks into our lives is different. So our approach is never from a kit. We think about their silly expressions, that one uneven ear, and yes—even your local weather. Humidity changes how glue dries.
What follows is our playbook, but don’t treat it like a manual. Tweak it, break the rules, and find what works.
Grab a good-sized tuft of wool—roll it tight, I mean really tight. Then, attack it with your felting needle. Stab, twist, stab. Don’t rush this. If the base feels soft like a sponge later, the eyes will sink in. You’re aiming for a firm, dense ball.
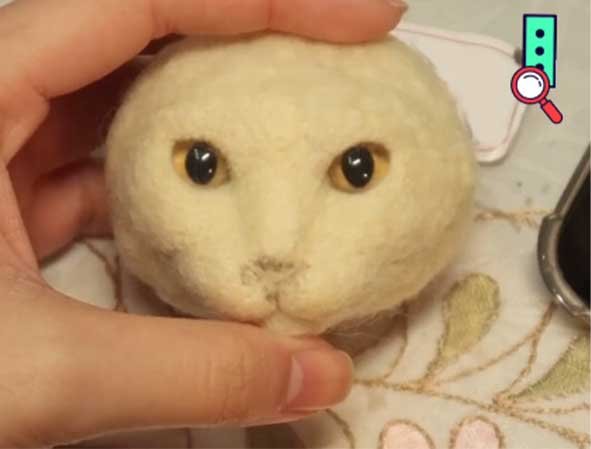
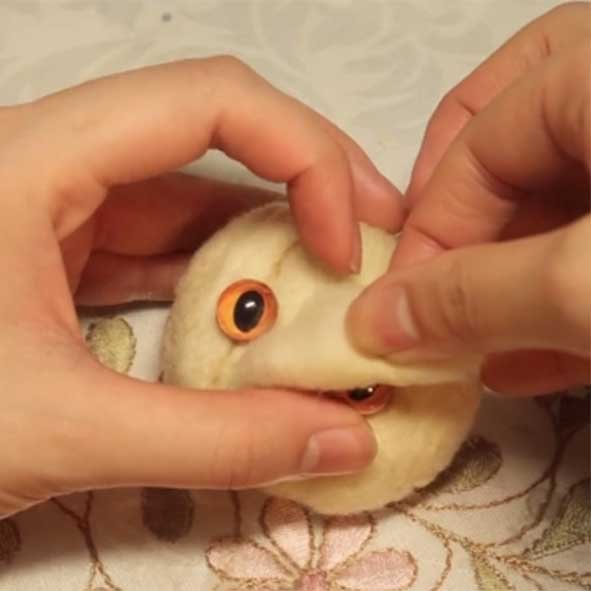
Mark the spots lightly. My tip? Go for eyes slightly smaller than you think. Glue them in and stare. Get the placement wrong now, and the whole personality is off.
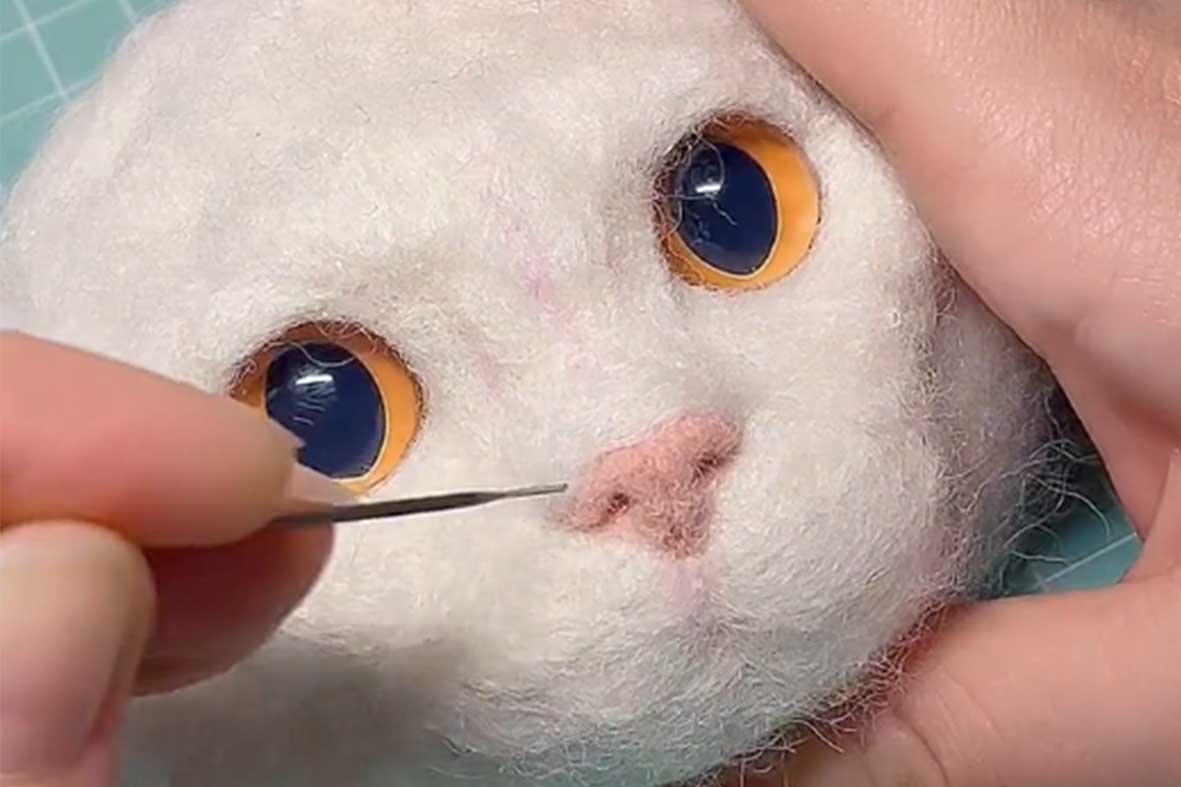
Process: Roll a small amount of wool into an oval strip. Position it over the top quarter of the eye.
Tool: Use a No. 40 needle to secure the wool around the outer edge.
Pro Tip: Angle your needle and stab from the lid down into the eye socket. This makes the lid wrap, not just sit on top.
Following the same method, roll wool into an oval strip and place it under the eye, covering the bottom quarter. Secure the surrounding wool with a No. 40 needle.
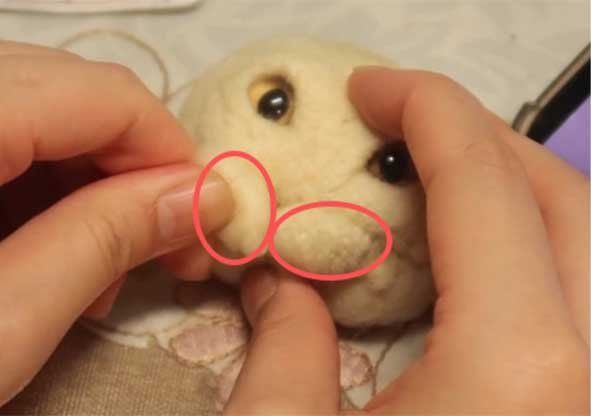
Two little wool balls on either side of the muzzle. Poke them firmly until they’re plump and rounded. This baby-like plumpness is what makes a needle felted pet portrait irresistibly sweet.
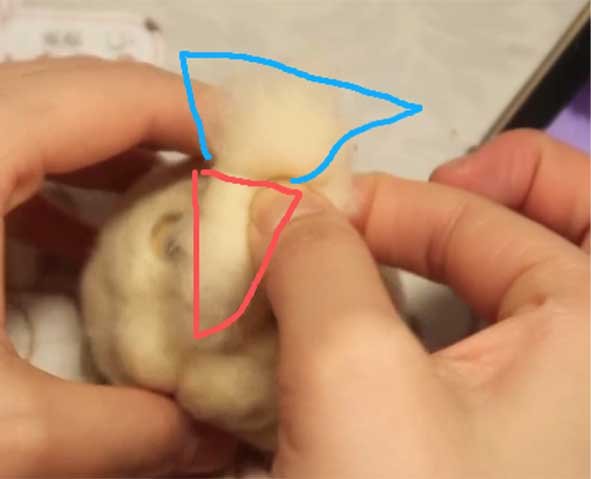
Pull a tuft of wool. Twist the bottom half into a ridge. Tease the top half into a frizzy fan. Felt it down.
The challenge? Making ears that have both a firm, cartilaginous feel and that wispy fringe.
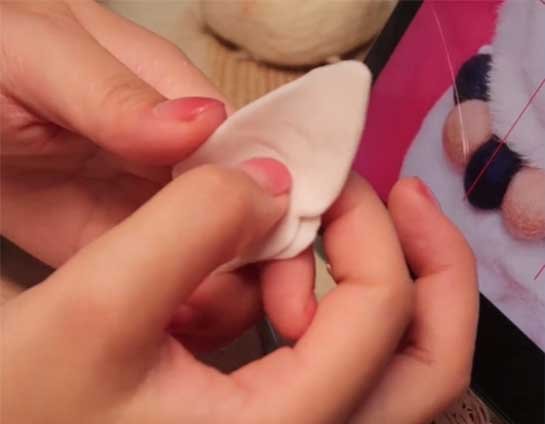
Mold the polymer clay into a thin triangular sheet. Cut a small notch along one side to form the natural ear shape.
Press your fingernail in to make those tiny, messy inner ridges. Don’t be gentle. Real ears aren’t perfect. Dust the deepest folds with reddish-brown powder. Then, a tiny dot of white acrylic on the highest ridge for a skin-like shine.
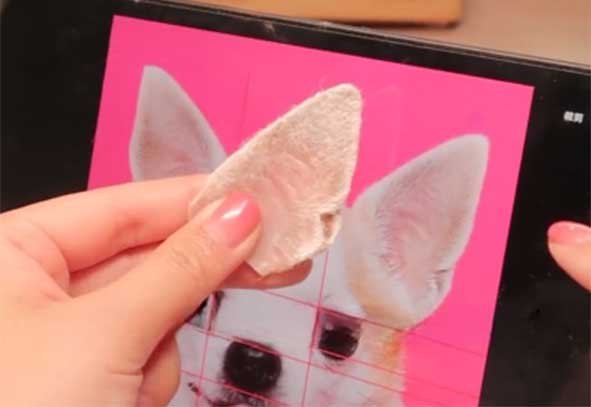
Hunt for a faux fur with a short, flat nap. It should look like the fuzz behind your cat’s ear.
Trace and cut the fur fabric, glue it on back.
For pets with brindled or patchy coats, uniform wool looks fake. Our team’s motto is:
“For a mottled coat, maximize the contrast.”
Why? Wool always felts down to a softer, flatter color. If you don’t exaggerate the dark and light, it’ll look bland.
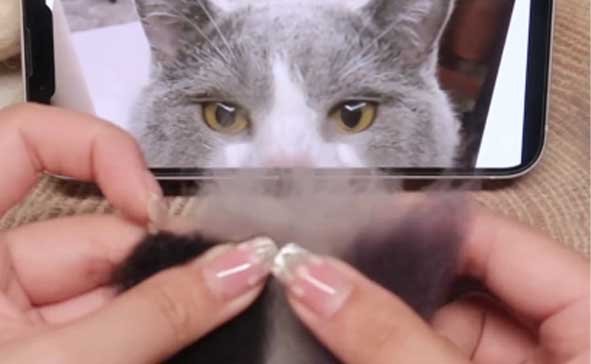
Not Stirring. Start with a grey base wool. Now, pull apart strands of black and dark grey. Don’t just mix them—grab both ends and pull and fold, pull and fold. You want the colors to tangle unevenly. The black gives you those crucial dark flecks.
Shape a little ear from your blended wool. Before felting, take a flat brush with dark powder and run it along the rim. This simple shade gives instant thickness. Then, felt on some edge fur and blur the line.
Don’t just cover the head. Look at your pet’s photo—see how the fur grows in clumps? Felt your blended wool on in that pattern, in thin layers. Overlap colors at the edges. The goal is a piece with depth for your custom felt pet portrait.
A great tail tells you what the felt pet sculpture is feeling.
A 20cm piece of 2mm aluminum wire is perfect. 3cm from the end, wrap and knot some core wool. This knot is your anchor.
Wrap core wool tightly. Every 4cm, stop and felt that section solid. Shape a gentle taper—thick at the base, tapering to a pointed tip like an earthworm.
Mix the wool in a 2:1:1 ratio of black, grey, and yellow. Hold both ends of the wool strands with your hands, then gently pull and blend them evenly. Continue this pulling and blending process repeatedly. This will yield a light grey, multi-tonal wool blend.
Once fully felted, get your sharp scissors. Trim the long, stray hairs. Then, gently brush the surface with a pet slicker brush. This tames the fuzz and makes it look like real, groomed fur, completing your needle felted pets’ authentic look.

A1:Our wool felt portraits are designed to capture your pet’s spirit and personality, rather than a perfect photo replica. While we strive for 85%-95% likeness, each piece is a handmade work of art full of life and character.
A2:When creating wool felt pet portraits, we focus on capturing the unique expression and features of your pet, such as their facial expression, the texture of their fur, and personalized details. We adjust each piece based on the specific characteristics and posture of the pet, rather than using a fixed template, ensuring that each piece is filled with personality and life.
A3:Absolutely! We value each pet’s uniqueness. If your pet has special fur colors, expressions, or poses, we’ll make adjustments during the creation process to ensure the final wool felt portrait reflects your pet’s distinct traits. Our goal is to perfectly capture your pet’s soul and personality in wool.